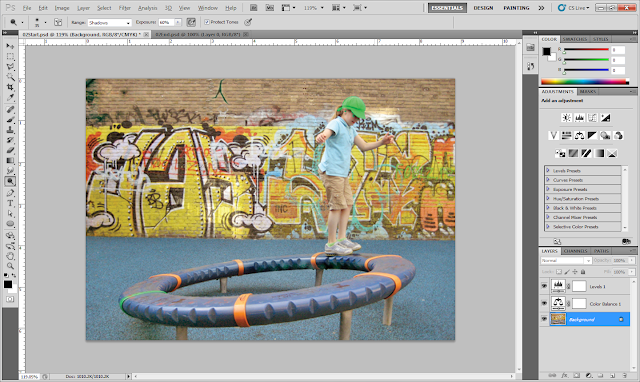
This week i learnt about the Photo Correction.
This is what i learnt from Mdm Lydia.
Step 1 : Open the Image.
Step 2 : Select CROP TOOL or click C button. Next, drag your mouse to select the area which you want to crop.
Step 3 : Select IMAGE, ADJUSTMENT then AUTO COLOR.
Step 4 : Select IMAGE, ADJUSTMENT then SHADOW/HIGHLIGHTS.
Step 5 : Select the COLOR BALANCE and adjust the color bar to adjust the color of your image.
Step 6 : Open LEVELS to adjust the black and white color of the image.
Step 7 : Select RECTANGULAR MARQUE TOOL and drag your mouse to select the area of the hat.
Step 8 : Select IMAGE, ADJUSTMENT then REPLACE COLOR. Select the EYEDROPPER tool, click on the hat to get the full white hat in the preview box. Next, adjust the adjustment bar to get the green color, then click OK.
Step 9 : Select DODGE tool and drag your mouse on the purple circle to brighten the circle up.

Step 10 : Select the Clone Stamp tool, drag your mouse on the part which you wan to cover up.
Step 11: Select the SPOT HEALING BRUSH, drag your mouse on the crack to cover the crack.
This is the final Image!


No comments:
Post a Comment